| Provider Type(s) for Which These Instructions Apply | Program(s) for Which These Instructions Apply |
|---|---|
| All Providers | NA |
This process will be used as a guide for submission of alleged violations of Policy, Conditions of Provider Participation and/or Program Service Standards.
- Navigate to the PQ Chapter

- Hover over “File”
Select “Add PQ”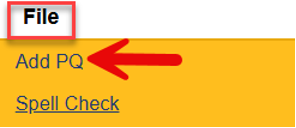
- Complete the blank field(s) of the record
Select “Unknown” on the Program
Click the box with the three dots ( … ) next to “Select User’s Provider Record”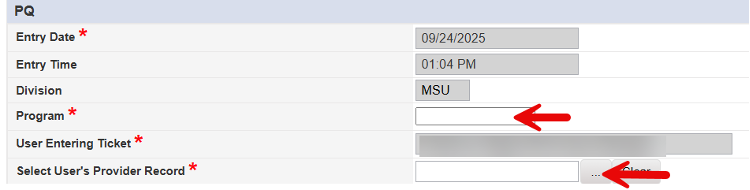
Type in “ADvantage”
* ADvantage will be used regardless of the program selected. Do not include the name of a specific agency. Using the ADvantage provider name ensures that only MSU staff can view the submission.
Click on “Search”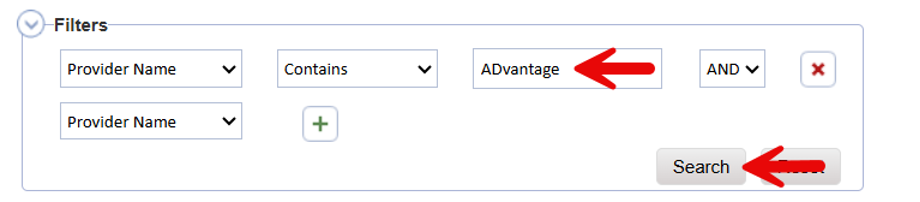
Select the ADvantage record from the list
Select the Inquiry Type of “Violation Review Committee (VRC) Referral”
- Hover over “File”
Select “Save PQ”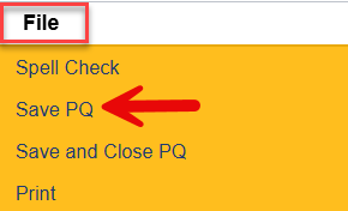
- Select “Documentation” Sub-Tab
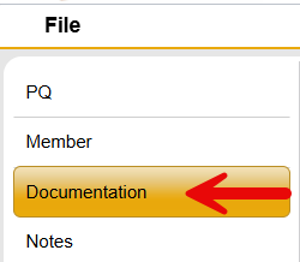
Hover over “File” from the Menu Bar
Select “Add Documentation”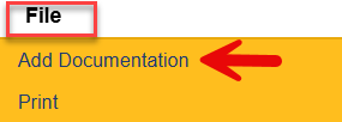
Select “Violation Review Committee (VRC) Complaint Report”
Complete the form with all appropriate information
Update the status in the header to “Complete” once all required documentation has been entered.
* The document may be saved with a status of ‘Draft’ if the user needs to pause and gather additional information; however, it must be set to ‘Complete’ before submitting the VRC Referral.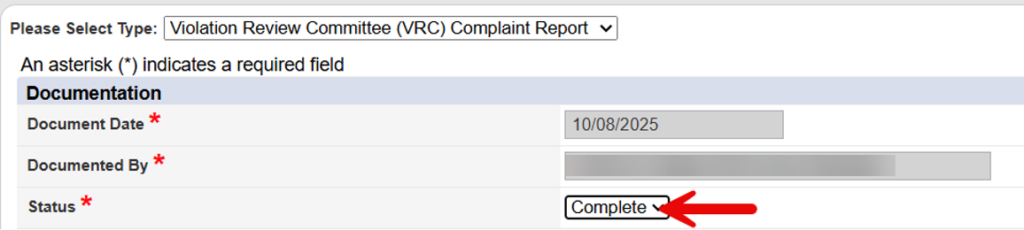
Hover over “File” from the menu bar
Select “Save and Close Documentation”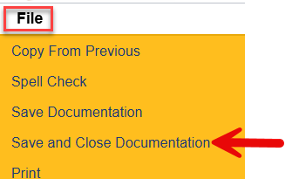
- If there are additional documents and/or detail that need to be attached to the PQ ticket, complete this step. Otherwise, hover over “File” from the menu bar and select “Close Documentation” to exit the PQ Ticket.
Select “Notes” Sub-Tab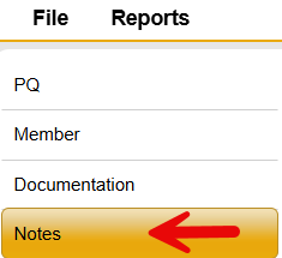
Hover over “File” from the menu bar
Select “Add Note”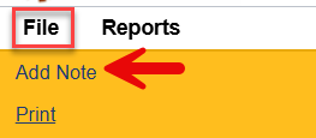
Select the appropriate I&I Note Type from the drop-down list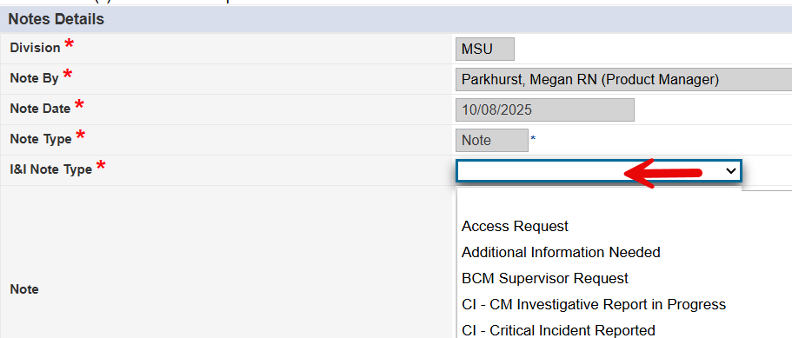
Enter additional details as appropriate in the “Note” field
Update the Status to “Communication”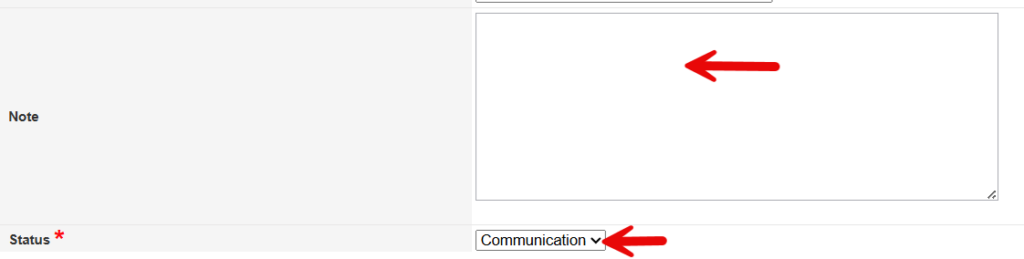
If an attachment needs to be added to the note, follow the steps below. Otherwise, proceed directly to Step 7.
Ensure the document to be attached is saved to your local machine.
*When saving the file, remove any special characters such as periods, commas, or dashes from the file name.
Select “Add Attachment”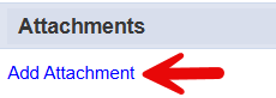
Select “Choose File”
Select document to be attached from your local computer
Type in appropriate “Description”
Select appropriate “Category”
Select “Upload”
- Hover over “File” from the menu bar
Select “Save and Close Note”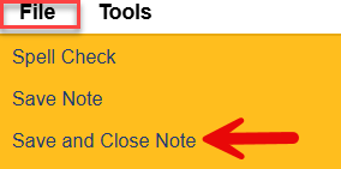
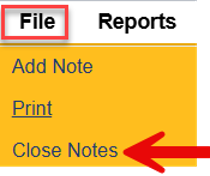
Hover over “File” from the menu bar
Select “Close Notes” to exit the PQ Ticket