| Provider Type(s) for Which These Instructions Apply | Program(s) for Which These Instructions Apply |
|---|---|
| Case Management Home Care Assisted Living | All Programs |
ADvantage, Medically Fragile and Living Choice Programs: This process will be used by both the Case Manager and Home Care/Assisted Living Nurse anytime a Relation is added to, updated, inactivated, or when there is a need to view inactive records in a Member’s record.
SPPC Program: This process will be used by the Home Care Nurse.
Guidance for Responsibility of Relations Tab:
- If an Interdisciplinary Team (IDT) visit involves both the Case Manager and the Home Care/Assisted Living Nurse, the Case Manager is responsible for completing any necessary updates to the Relations tab in the Member’s record.
- If the visit is conducted by a single discipline (either the Case Manager or the Home Care/Assisted Living Nurse), the individual conducting the visit is responsible for updating the Relations Tab, as appropriate.
Adding a Relation
- Open the Member Record.
- Select the Relations Tab.

- Hover over “File” on the Menu bar.
Select “Add New Relations Search”.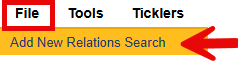
- In the first row that begins with “Last Name”, update the filter dropdown menu to reflect “Begins With.”
- In the next filter, type the first 3 letters of the last name of the relation to be added.
Click on “Search”.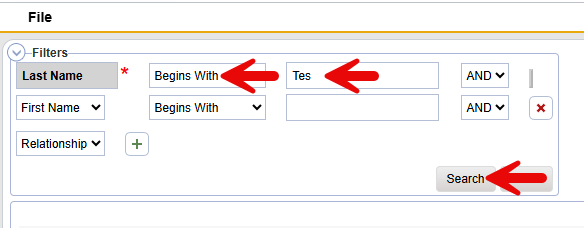
If the user is not completely certain that the name listed in the search results is the same person intended to be added, it is recommended to select “Add New” and create a new relation, even if it may result in a potential duplicate. If the user is certain that the name listed in the search results is the exact person intended to be added, and there is no possibility that another individual with the same name exists, the existing record may be selected.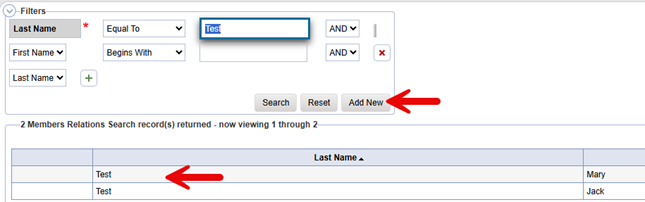
- Select the appropriate Primary and Secondary Relationship types.
Enter all available demographic information.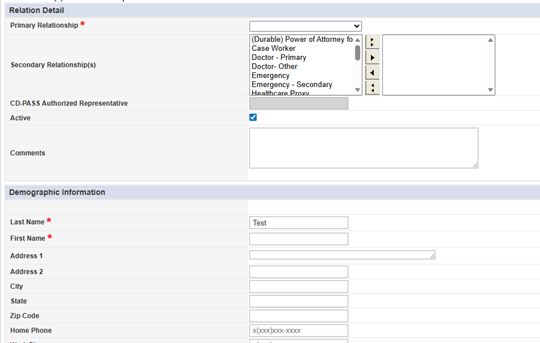
- Hover over “File”.
Select “Save and Close Relations”.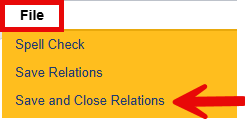
Updating a Relation
- Open the Member Record.
- Select the Relations Tab.
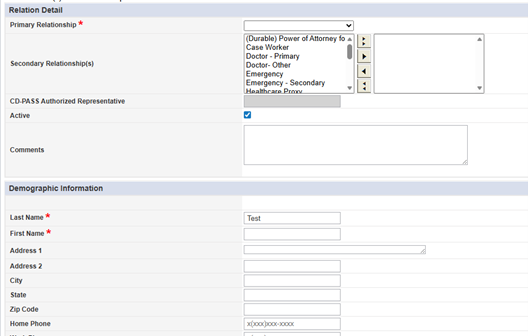
- Select the relation record that requires an update from the list.

- Update the details of the relation record, as appropriate.
- Hover over “File”.
Select “Save and Close Relations”.
Note: To view changes for a specific relation record, select the record from the list view, then navigate to File > History to review its history.
Inactivating a Relation
- Open the Member Record.
- Select the Relations Tab.
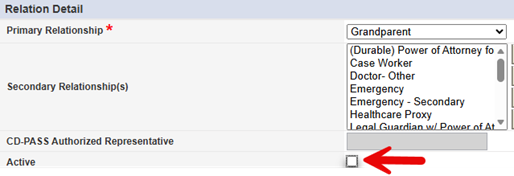
- Select the relation record that needs to be inactivated from the list.
- Uncheck the “Active” box.
- Hover over “File”.
Select “Save and Close Relations”.
Viewing Inactive Relations
- Open the Member Record.
- Select the Relations Tab.
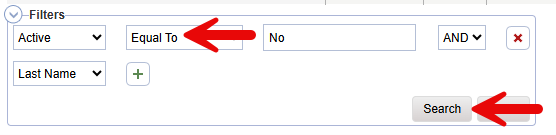
- In the Filters section, set the “Active” field to “Equal To”.
Click on “Search”.