| Provider Type(s) for Which These Instructions Apply | Program(s) for Which These Instructions Apply |
|---|---|
| All Providers | All Programs |
This process will be used as a guide for submission of Provider Questions.
*Users should consult their supervisor or agency representative with any process-related questions before submitting a PQ Ticket.
- Navigate to the PQ Chapter

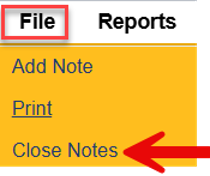
- Hover over “File”
Select “Add PQ”
- Complete the blank field(s) of the record
Select Program of “ADvantage”
Click the box with the three dots ( … ) next to “Select User’s Provider Record”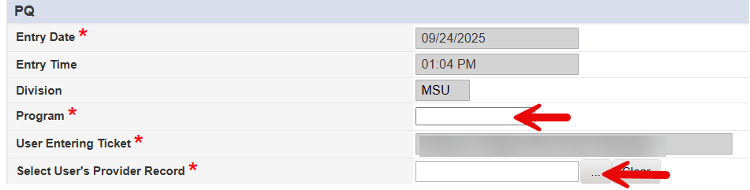
Type in a minimum of the first 3 letters of the Provider you are associated with
Click on “Search”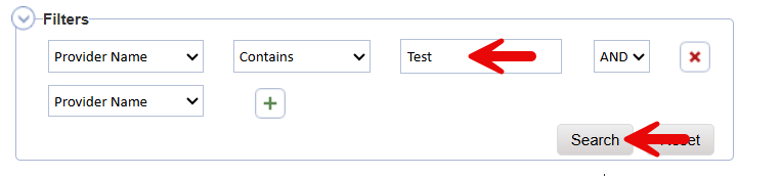
Select the appropriate record from the list
*The user must select the Provider Name and branch that are associated with the Member’s Provider Enrollments
Select the appropriate Inquiry Type from the drop-down list
*If additional drop-down lists appear, the appropriate selection should be made
Enter detailed information regarding the issue or question being submitted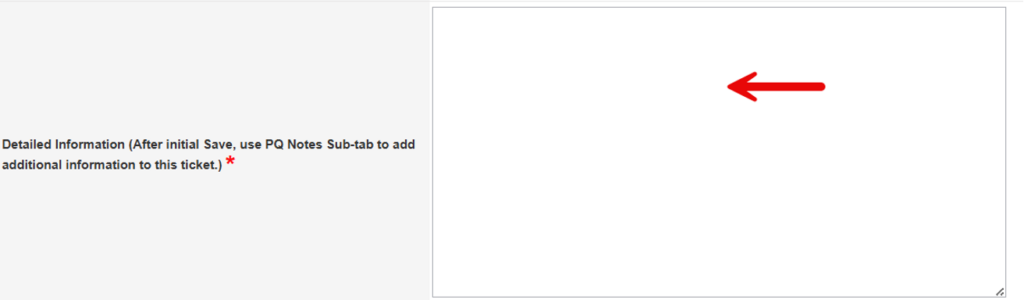
If the issue is a priority related to Member Health and Safety, the Review Priority Status may be updated to ‘Priority Review’
- Hover over “File”
Select “Save PQ”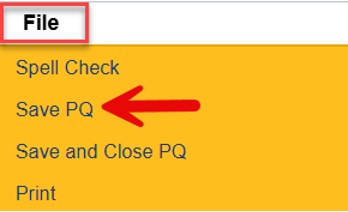
- If the PQ is related to a specific Member, complete this step. Otherwise, proceed directly to Step 6.
Select “Member” Sub-Tab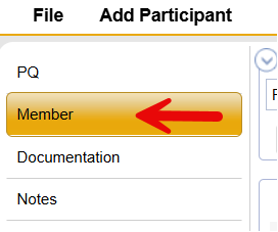
Hover over “Add Participant” on the menu bar
Select “Member Participant”
Hover over “Tools” on the menu bar
Select “Search for Person”
* If the next step does not populate, please check your browser settings to ensure that pop-up blockers are disabled for the Harmony site. If you need assistance adjusting these settings, contact your supervisor or your Agency’s IT department.
Click on the +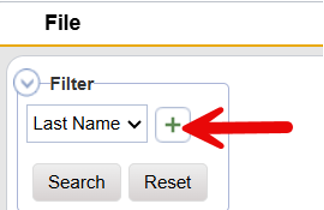
Type in the Member last name in the blank box
*Member last name must be spelled exactly as it is on their provider record.
Click on Search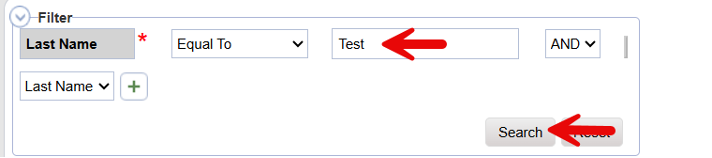
Select the appropriate Member record from the list
Click on the circle in front of “Link to Participant”
*Do not select “Overwrite Participant Data”
Select “OK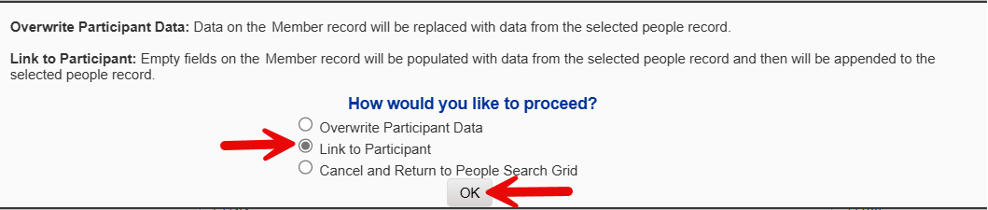
Hover over “File”
Select “Save and Close Member”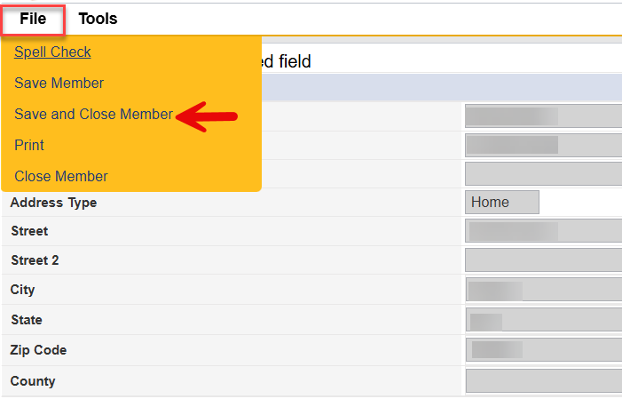
- If there are additional documents and/or detail that need to be attached to the PQ ticket, complete this step. Otherwise, hover over “File” from the menu bar and select “Save and Close PQ” to exit the PQ Ticket.
Select “Notes” Sub-Tab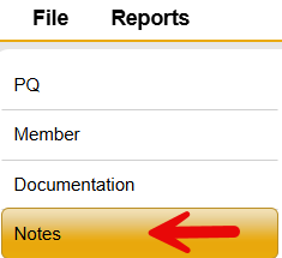
Hover over “File” from the menu bar
Select “Add Note”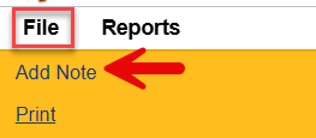
Select the appropriate I&I Note Type from the drop-down list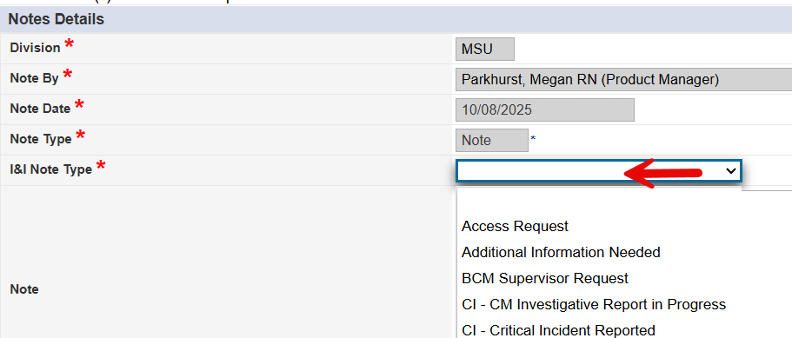
Enter additional details as appropriate in the “Note” field
Update the Status to “Communication”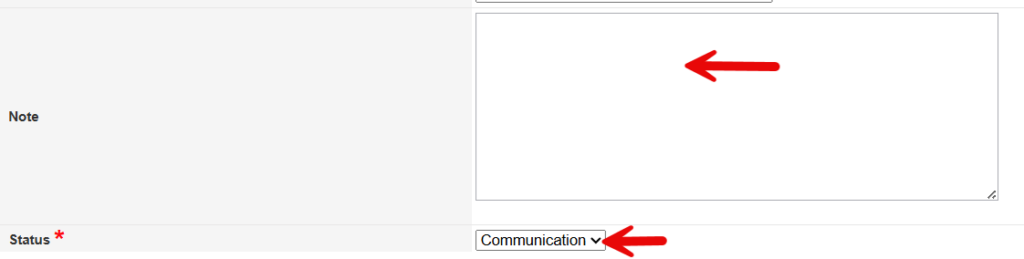
If an attachment needs to be added to the note, follow the steps below. Otherwise, proceed directly to Step 7.
Ensure the document to be attached is saved to your local machine.
*When saving the file, remove any special characters such as periods, commas, or dashes from the file name
Select “Add Attachment”
Select “Choose File”
Select document to be attached from your local computer
Type in appropriate “Description”
Select appropriate “Category”
Select “Upload”
Return to “Choose File” to add all required documents. - Hover over “File” from the menu bar
Select “Save and Close Note”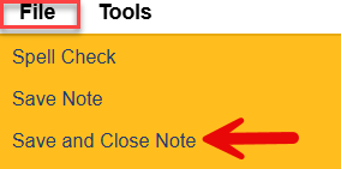
Hover over “File” from the menu bar
Select “Close Notes” to exit the PQ Ticket