Provider Type(s) for Which These Instructions Apply
Program(s) for Which These Instructions Apply
All Providers
All Programs
Navigate to the Plans Tab
Select the Plan in which the Note is associated
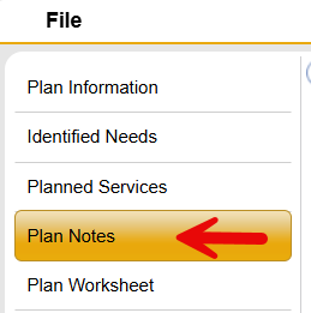
Select the “Plan Notes” Sub-Tab
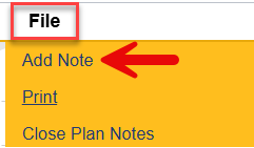
Hover over “File” Select “Add Note”
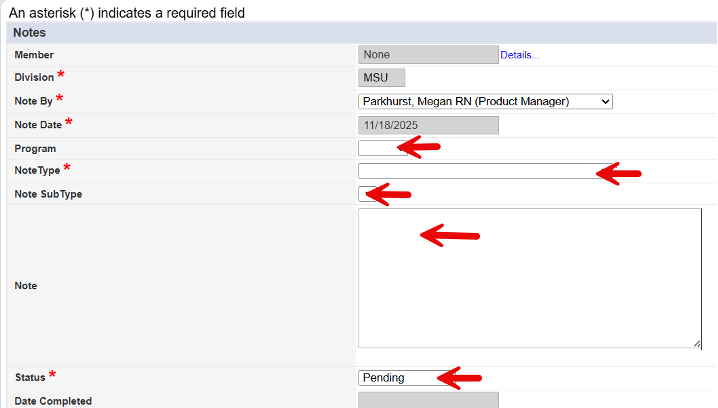
Complete the blank field(s) of the record
Select the appropriate Program
Select the appropriate Note Type
Select the appropriate Note Sub-Type
Select the appropriate Note Status
Enter Note details as appropriate
*Status of Alert should only be used when the note must be immediately visible to any user opening the case. Examples:Closures, Suspensions, Safety Concerns.
**Notes should not be left in a status of “Draft” or “Pending”.
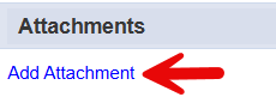
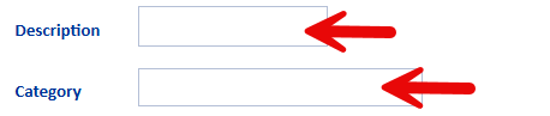
If an attachment needs to be added to the note, complete this step. Otherwise, proceed directly to Step 7. Ensure the document to be attached is saved to your local machine. *When saving the file, remove any special characters such as periods, commas, or dashes from the file name. Select “Add Attachment” Select “Choose File” Select document to be attached from your local computer Type in appropriate “Description” Select appropriate “Category” Select “Upload”
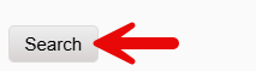
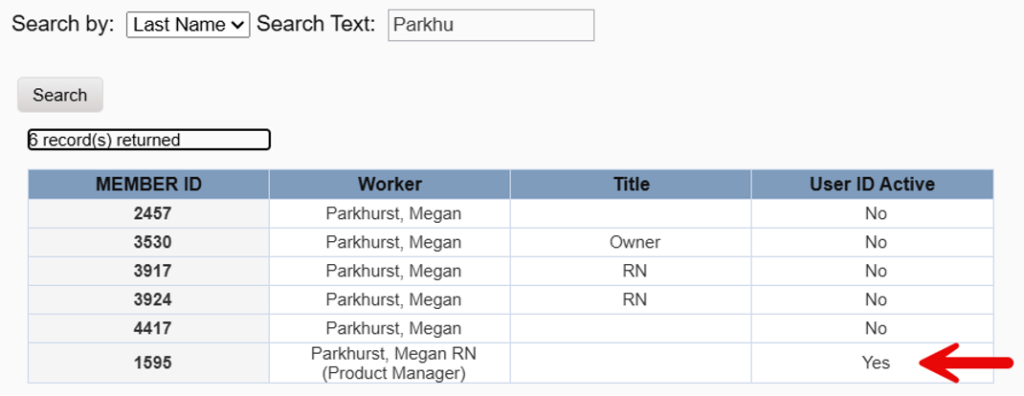
If a Note Recipient needs to be added to the note, complete this step. Otherwise, proceed directly to Step 8. Select “Lookup” Type a minimum of the first three letters of the recipient’s last name into the “Search Text” box. Click “Search” Select the appropriate worker record. *In order for the recipient to receive the note, the “User ID Action” must be set to “Yes”.
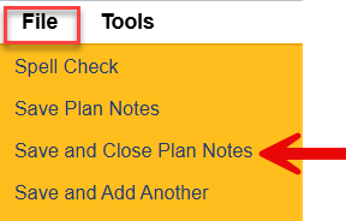
Hover over “File” Select “Save and Close Plan Notes”